Tap, Tap, Love - an interactive compatibility game
Arduino / game design

Languages
C++
Javascript
Tools
Figma
Arduino IDE
TinkerCad
Cura
Physical
3D Printing
Arduino
Skills
Vibe Coding
Prototyping
Game Design
PROBLEM
When you’re meeting someone for the first time, it’s hard to break the ice.
Connecting with people can be tough. It’s difficult to strike up conversation, and when you finally do, there’s this urgency to find the next topic and keep it going. As a team, we wanted to tackle this social pressure by creating a low-stakes game that diffuses that tension when two people are starting to get to know each other.
SOLUTION
Introducing... Tap, Tap, Love, an interactive compatibility game.
The long, long process…
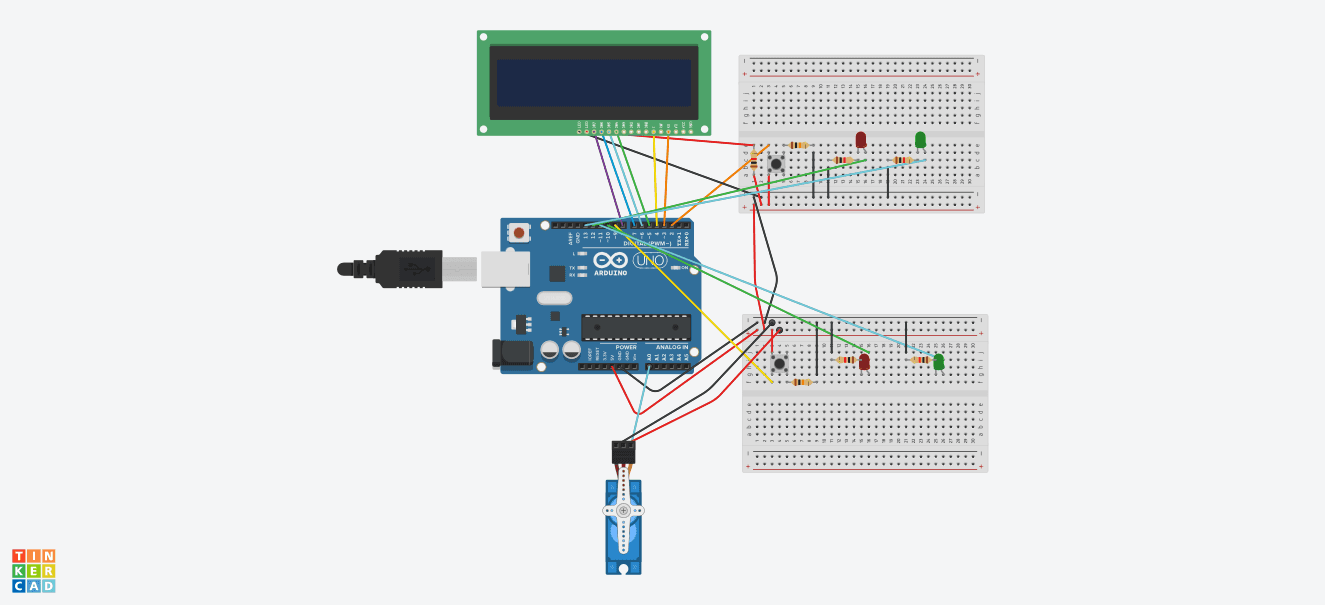
Figuring Out Wiring
To set up the main function of our game, we focused first on connecting 2 touch sensors with the LED lights. Then, we explored displaying game questions on an LCD sensor. Due to limited resources, we assigned 1 touch sensor and 2 LED lights (1 red and 1 white) to each player; 1 tap would trigger the red light, indicating the 1st answer, and 2 consecutive taps would trigger the white light, signaling the 2nd answer.


Making the Physical Components of the Game
After wiring, we moved on to creating the physical parts of the game, which included a heart box that would display a rose at the end of the game. We ended up 3D printing a rose, a heart box, and a servo motor extender, which would be used to open the lid of box to reveal the rose when players "win" the game.
To save time and materials when 3D printing, we created a smaller prototype of the heart box at first to get an idea of the measurements and adjusted them accordingly on TinkerCad, where we also inserted a hole to put the wires for the servo motor in and hide later on.

Usability testing
Testing the game with other players
We first conducted a psychophysics experiment, depicted on the left, where we manipulated the delay time between a user’s tap and the light feedback, and found that 1500ms was the most ideal option in which participants preferred their feedback.
Once we built a physical prototype, we decided to test out the game with pairs of players. One common piece of feedback we received was surrounding the lack of in-game feedback. Some players wished for more visual indicators to communicate where they were in the game and an idea of how long it would take, while others suggested increased audio feedback for more assurance in confirming whether the system was able to detect their answer.


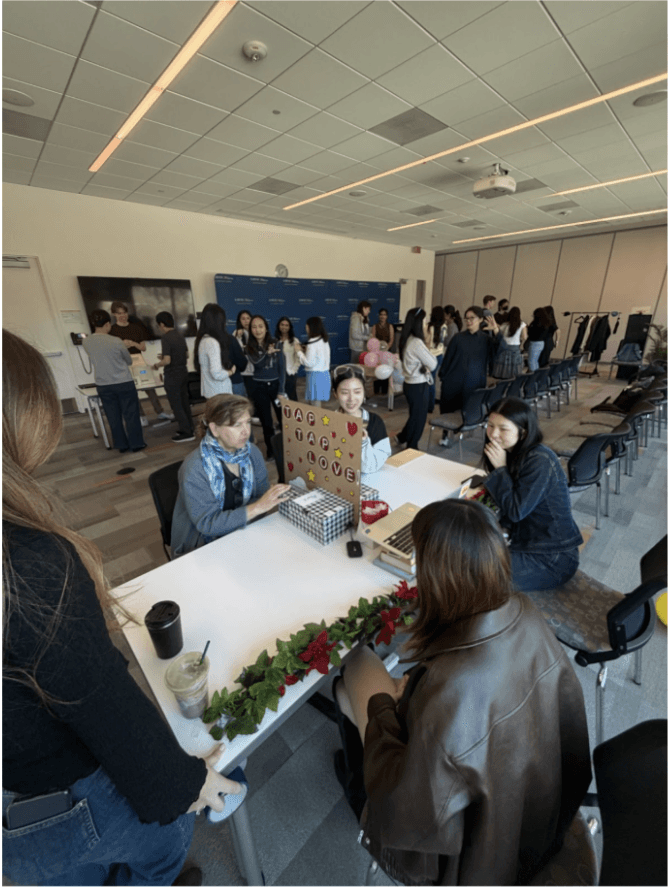
Demo day
Demoing with real players!
We had the opportunity to showcase our project during a school-wide Demo Day and had real users playing our game. This not only allowed us to get feedback in real time, but also witness first hand sparks flying… and occasionally, none at all…